5 Easy Ways to Upgrade Your Outdated Kitchen Cabinets
Your kitchen cabinets are the heart and soul of your kitchen. Old cabinets can easily make your kitchen look dated. Luckily, it is easy to change up your cabinets and give your kitchen a fresh look.
Read this guide to upgrade kitchen cabinets like a pro.
Paint to Upgrade Kitchen Cabinets
Painting your kitchen cabinets is a fun project. Save yourself some money and do it yourself instead of hiring a pro. We’re about to show you how to do it in just a few quick steps!
You’ll need a paintbrush and a small foam roller. Spray paint is another option but it can be tricky. We recommend painting with a brush or foam roller.
Step 1
First, clean your kitchen so nothing gets in the way and empty your cabinets. Cover your backsplash and appliances with drop cloths. Remove all the hinges and hardware so that you don’t accidentally paint them.
Step 2
Next, label each door using painter’s tape and a marker so you won’t forget where they came from. Put the hardware in a plastic bag and tape it to each door.
Step 3
Then, prep all of the doors and drawers to ensure the paint will last longer and look smoother. Scrub the cabinets down and sand them with sandpaper.
This will make sure the surfaces are smooth. Use caulk to fill in any gaps or kicks your old cabinets have.
Step 4
Once the primer is dry use an angled paintbrush to apply the paint. Choose paint with a satin finish for the best results. Work in sections and move around the kitchen until everything is painted.
When you’re done you can add a coat of polycrylic for extra durability.
Step 5
Once everything has dried reinstall the doors and doors. Voila! Enjoy your new kitchen cabinets.
Add Molding or Trim
Adding molding to your kitchen cabinets can give them an entirely different look. This one is a little bit more tricky than painting but it looks amazing when completed.
Step 1
Measure your cabinets and figure out how much molding or trim you need to buy. Shop at Baird Brothers for a good deal on trim and molding. Buy a little extra trim just in case you make mistakes.
Step 2
Use a miter saw to create angled edges fro the trim to fit nicely. There are special guide tools that can help you achieve perfect angular cuts.
Step 3
Install a frame around your cabinets. You can always nail or glue your trim directly onto the cabinets with small nails or wood glue.
But for best results, you’ll need to install a frame along the cabinet tops. A simple 1 x 2 inch strip of wood will do. Then glue or nail the molding directly to the frame.
Step 4
Start putting the molding or the trim up. As you hold it up it should be easy to see if you made a mistake in your measurements or cuts. Don’t worry, that’s why you bought spare trim.
Nail the molding in place and drive the nails directly into the frame to the top of the cabinet. Then apply a small amount of glue just to make sure it will hold.
Step 5
Paint the molding the same color as the cabinets or an accent color and enjoy your newly trimmed cabinets!
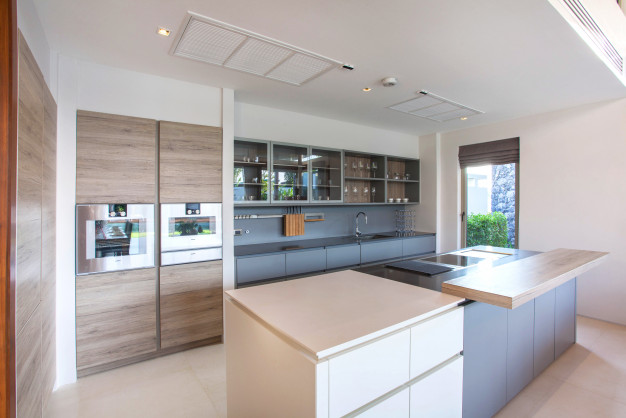
Remove the Doors
For a simple fix that will make your kitchen look like new simply remove the doors. Open shelving looks great and is very popular. It’s also very functional.
Remove the doors from the cabinets next to the dishwasher to make unloading dishes a breeze. Set the table or get to your stored items quickly without those pesky doors.
Step 1
Remove the doors and hardware from the cabinets. Then, use a putty knife to remove and lose wood were the hinges used to be. Fill in the holes from the hinges and any dings in the cabinets with putty. Let it dry and then sand it smooth.
Step 2
Use caulk to fill in ant seems. Make sure your caulk is a paintable variety. Use a damp sponge to remove any excess caulk from the cabinets. Then let it dry.
Step 3
Pain the cabinets in the color of your choice using the steps above. You can also add wallpaper to the back of the cabinets for a special touch. Then let the cabinets dry.
Step 4
Reinstall the shelves and carefully arrange your dishes and items inside the cabinets fashionably and neatly. That’s it! You are done. Enjoy your new cabinets.
Add Glass Panels
Glass panels can give your kitchen a special touch. Choose clear or frosted glass to match the look of your home. This is an easy upgrade for your kitchen cabinets that you can complete in a day.
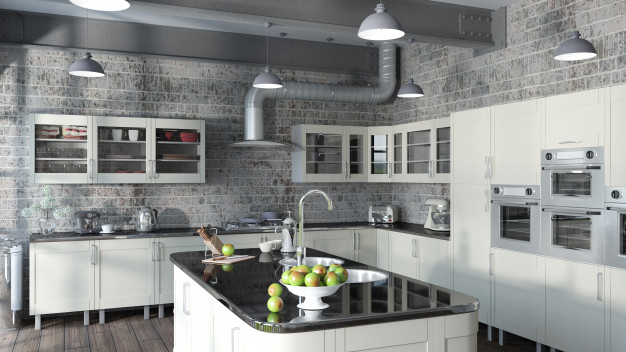
This upgrade works best if your kitchen cabinets have a frame around the edge and a panel in the middle that can be removed.
Step 1
Remove the doors and hardware. Place all hardware in a plastic bag and use painter’s tape to label where each door came from.
Step 2
Measure the groove on the inside of the cabinet and then the depth of the grove on the cabinet.
Step 3
Marke the doors on the back of the cabinet with a pencil or carpenter’s square.
Step 4
Adjust your circular saw’s cutting depth according to the measurements you took previously and then cut the carefully larked panel out of the door. Remove the wood panel. You may have to chisel the corners to get it to come out.
Step 5
Place your glass inserts into the door and secure it with clear silicone. Wipe off excess silicone and let the doors dry.
Step 6
Rehang the doors and put the hardware back on. Congratulations! You have a brand new kitchen.
New Cabinets Upgrade Your Kitchen
No matter which way you decide to upgrade kitchen cabinets they are sure to make your kitchen look fresh and new. You can feel accomplished knowing that you completed this home project and added value to your home.
If you enjoyed this article please share it with your friends and read more of our home improvement articles.
The post 5 Easy Ways to Upgrade Your Outdated Kitchen Cabinets appeared first on ELMENS.
source https://www.elmens.com/home-improvement/5-easy-ways-to-upgrade-your-outdated-kitchen-cabinets/


Comments
Post a Comment